How to Convert Betacam to Digital: Expert Tips for High-Quality Transfers
Understanding Betacam Tape Formats
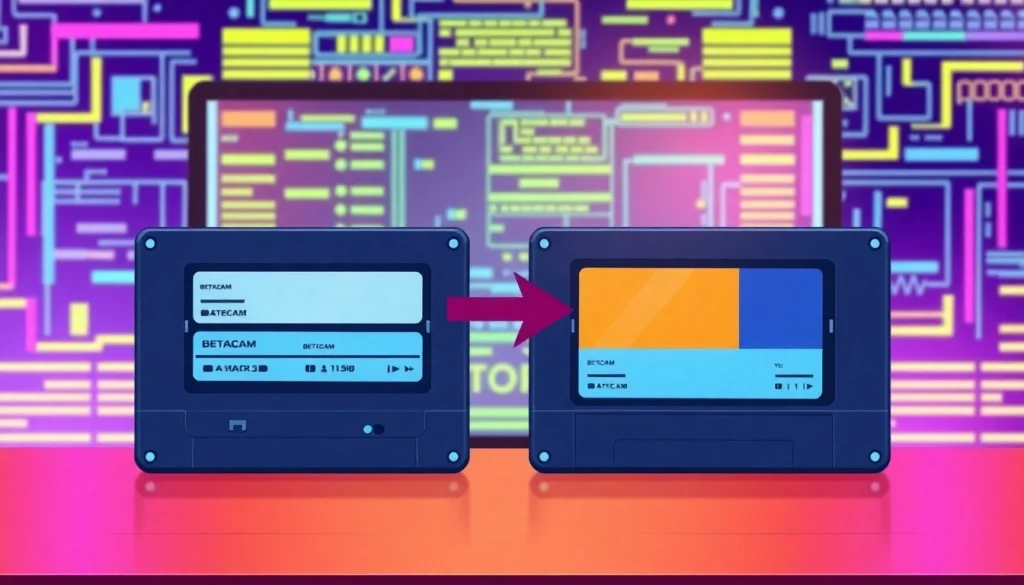
What is Betacam?
Betacam is a series of professional videotape formats developed by Sony, which has played a pivotal role in the broadcasting industry since its introduction in the 1980s. The Betacam format, known for its compact cassette design, quickly became the industry standard for television production and broadcasting. The original Betacam was introduced in 1982, followed by the Betacam SP in 1986, which offered improved video quality and recording times. These formats have been utilized for everything from news broadcasting to feature films, creating an extensive library of valuable footage that often requires digitization for preservation and accessibility.
Differences between Betacam SP and DigiBeta
Betacam SP (Standard Play) is an enhanced version of the original Betacam format, providing a higher signal-to-noise ratio and better color reproduction. This made it the preferred choice for many broadcasters and production houses. DigiBeta, introduced in the late 1990s, brought digital recording capabilities to the Betacam lineage, further improving the quality of the footage stored. Key differences include:
- Recording Format: Betacam SP records analog data, while DigiBeta captures video in digital format.
- Video Quality: DigiBeta offers higher resolution and color fidelity compared to Betacam SP, making it a superior choice for modern productions.
- Compression: DigiBeta employs advanced compression methods to maintain quality while reducing file size.
The differences in these formats significantly impact the digitization process, with the necessity of specialized equipment to ensure optimal results.
Formats and Their Relevance in Digital Conversion
Understanding the various Betacam formats is crucial for anyone interested in Betacam to Digital conversion. Each format has its unique specifications, which determine the type of equipment and software needed for conversion. The relevance of this knowledge is twofold: it not only ensures that the highest possible quality is maintained during the transfer process, but it also helps in selecting the right service provider who specializes in the specific format you possess.
The Importance of Digitizing Betacam Tapes
Why Convert Betacam to Digital?
Digitizing Betacam tapes is crucial for numerous reasons, particularly preservation, accessibility, and enhancement of usability. As technology advances, old analog formats are at risk of degradation and obsolescence. The potential benefits of converting these tapes are substantial:
- Preservation: Digital files do not degrade with time as physical tapes do. Digital media maintains quality even after multiple copies.
- Accessibility: Digital formats are easier to store, back up, and share, ensuring that important footage is readily available.
- Usability: Digital footage can be easily edited, showcased, or integrated into modern media projects, enhancing the ongoing value of historical content.
Preservation of Historical Footage
Many organizations, including universities and museums, find themselves with valuable archives consisting of Betacam tapes. These taped records preserve historical events, art, culture, and more. By converting these tapes to a digital format, organizations can ensure these narratives remain intact and accessible to future generations. Moreover, digitization helps safeguard against the risk of physical damage from environmental factors, such as humidity and temperature fluctuations.
Avoiding Obsolescence of Analog Formats
As technology continues to evolve, outdated formats like Betacam risk becoming obsolete. The devices needed to play back these tapes are increasingly scarce, making it difficult to access the content stored on them. Digitizing old formats not only preserves the content but also enables compatibility with modern playback devices, ensuring that future generations can enjoy and learn from this footage without facing technological barriers.
Choosing the Right Conversion Service
Evaluating Quality and Expertise
Choosing a conversion service for Betacam tapes can be daunting, particularly with so many options available. Evaluating the quality and expertise of a service provider is paramount to ensuring a successful transfer. Here are several factors to consider:
- Experience: Seek out services with a proven track record and years of experience specifically in Betacam conversions.
- Equipment Quality: Ensure they use industry-standard equipment for digitization to maintain the integrity of your footage.
- Reviews and Testimonials: Look for reviews or testimonials from previous clients to gauge their satisfaction and success rates.
Pricing and Packaging Options for Tape Transfers
When selecting a conversion service, pricing can vary significantly based on the service provider and the specific needs of your project. Many companies offer packaging options, where discounts may be available for larger orders. Generally, it’s beneficial to compare costs vs. services included in the price. Ensure that the quote covers any additional services necessary, such as editing, restoring damaged footage, or producing different file formats.
Popular Services for Betacam to Digital Conversion
Numerous reputable companies offer Betacam to digital conversion services. A few notable ones include:
- Smooth Photo Scanning – Known for their expertise across various formats including Betacam SP and DigiBeta.
- Digitizing World – Provides in-house digitization services for both individuals and institutions.
- Los Angeles Video Transfer – Offers high-quality digitization with industry-standard machinery.
DIY Digitization: Is It Possible?
Necessary Equipment for Home Conversions
For those considering DIY digitization of their Betacam tapes, it is essential to understand the required equipment. The key components for a successful home conversion setup include:
- Player: A working Betacam or Betacam SP player is crucial for playback.
- Capture Card: This connects the player to the computer and captures the video.
- Video Editing Software: Use this software to edit, enhance, and manage your captured footage after digitization.
- Storage Solutions: Invest in external hard drives or cloud storage for backing up your digital files.
Step-by-Step Guide to DIY Digitization
For readers interested in undertaking their own digitization process, here is a step-by-step guide:
- Connect the Betacam player to your computer using the capture card.
- Install the video editing software and set it up to recognize the capture card input.
- Insert the Betacam tape into the player and ensure it is functioning properly.
- Start the playback of the tape while simultaneously beginning the capturing process in your software.
- Once the tape is fully captured, stop the recording and save your file in the desired format.
- Edit any desired segments or enhance the video quality using the editing software.
- Export the final product and back it up on your storage solution.
Common Challenges in Home Conversions
While DIY can seem like a cost-effective and rewarding option, several challenges may arise:
- Equipment Compatibility: Ensuring all devices and software are compatible can be difficult.
- Quality Control: Without professional equipment, maintaining video quality can be challenging.
- Potential for Damage: Incorrect handling or setup may damage your original tapes or lead to incomplete captures.
Considering these factors, many individuals opt for professional services to guarantee high-quality transfers.
Post-Conversion: Storing and Using Digital Files
Best Practices for File Storage
Once your Betacam tapes have been converted to digital, proper storage practices are crucial to ensure the longevity of your files. Here are some best practices:
- Multiple Backups: Always keep at least two backup copies (one on physical media and one on cloud storage).
- Organize Files: Keep files in well-labeled folders to find footage easily. Use a naming convention that includes details such as date and description.
- Regularly Test Backups: Check that your backups are functioning correctly and replace them as needed.
Ways to Share and Use Your Digital Content
With digital files, sharing and utilizing your video content has become much easier. Consider the following options:
- Social Media: Share snippets of your footage on platforms like YouTube, Instagram, or Facebook to reach a wider audience.
- Compilation Projects: Combine different clips into a documentary or highlight reel using video editing software.
- Mixed Media Presentations: Integrate digital footage into presentations for events, teaching, or creative projects.
Future-Proofing Your Digital Assets
As technology progresses, it is essential to future-proof your digital assets. Consider these strategies to safeguard your footage over time:
- Regularly Update Formats: Convert your files to current formats as they evolve to prevent obsolescence.
- Engage with New Technologies: Be aware of and adopt new storage solutions, such as SSDs or cloud services that offer redundancy and security.
- Documentation: Maintain clear records of what is stored and organized, including file names and storage locations.